5-Minute Quick Start
Get up and running with the Synthesized platform in just 5 minutes. This tutorial will have you masking your first database using Docker Compose.
Quick Overview
- Time Required
-
5-10 minutes
- Difficulty
-
Beginner
- Prerequisites
-
Docker or Podman installed
What You’ll Build
This guide helps you set up a local demo of the Synthesized platform - our data transformation and management solution.
You’ll be able to:
-
Explore realistic synthetic test data
-
See data masking and anonymization in action
-
Try out data subsetting and sampling features
-
Experience the web interface for managing data workflows
|
Demo Environment Only - This setup is not for production. It uses hard-coded JWT secrets and demo defaults. For secure, scalable deployments, see Docker Compose Production Setup or Kubernetes Production Setup. |
Prerequisites
You’ll need either Docker or Podman installed on your machine.
-
Docker (Recommended)
-
Podman (Linux)
-
Install Docker
-
Verify installation:
docker --version
-
Install Podman and Podman Compose
-
Verify installation:
podman --version
|
RHEL with SELinux - If you’re using RHEL with SELinux enabled, you’ll need to allow ports 389 and 80: |
Quick Start Installation
| Contact Sales to request access to the resources needed for Quick Start installation. governor-compose.zip contains the Docker Compose scripts and demo database dumps. |
Navigate to the unzipped directory and run:
-
Docker
-
Podman
# Pull the required images
docker compose pull

# Start all services
docker compose up
Wait for all services to start (approximately 1-2 minutes). You’ll see log messages indicating services are ready.
Use docker compose up -d to run in the background (detached mode).
|
Open the UI by going to http://localhost:80 (the port can be changed in the docker compose file).
Use the predefined credentials to log in: test@synthesized.io / Qq12345_.
# Pull the required images
podman-compose pull

# Start all services
podman-compose up
When using Podman and Podman Compose instead of Docker, you must make the following changes.
Relabel volume mounts (RHEL with SELinux only):
docker-compose.yml, add the :Z SELinux relabeling option to all volume mountsvolumes:
- "./initdb/create_governor_db.sql:/docker-entrypoint-initdb.d/1.sql:Z"
- "./initdb/create_governor_schema.sql:/docker-entrypoint-initdb.d/2.sql:Z"Change the UI service port mapping to avoid privileged ports:
If you have already performed the SELinux configuration steps above (allowing port 80 for unprivileged usage), changing the port mapping is not necessary and you can keep 80:80.
|
ports:
- "8080:80"
Open the UI by going to http://localhost:8080 (the port can be changed in the docker compose file).
Use the predefined credentials to log in: test@synthesized.io / Qq12345_.
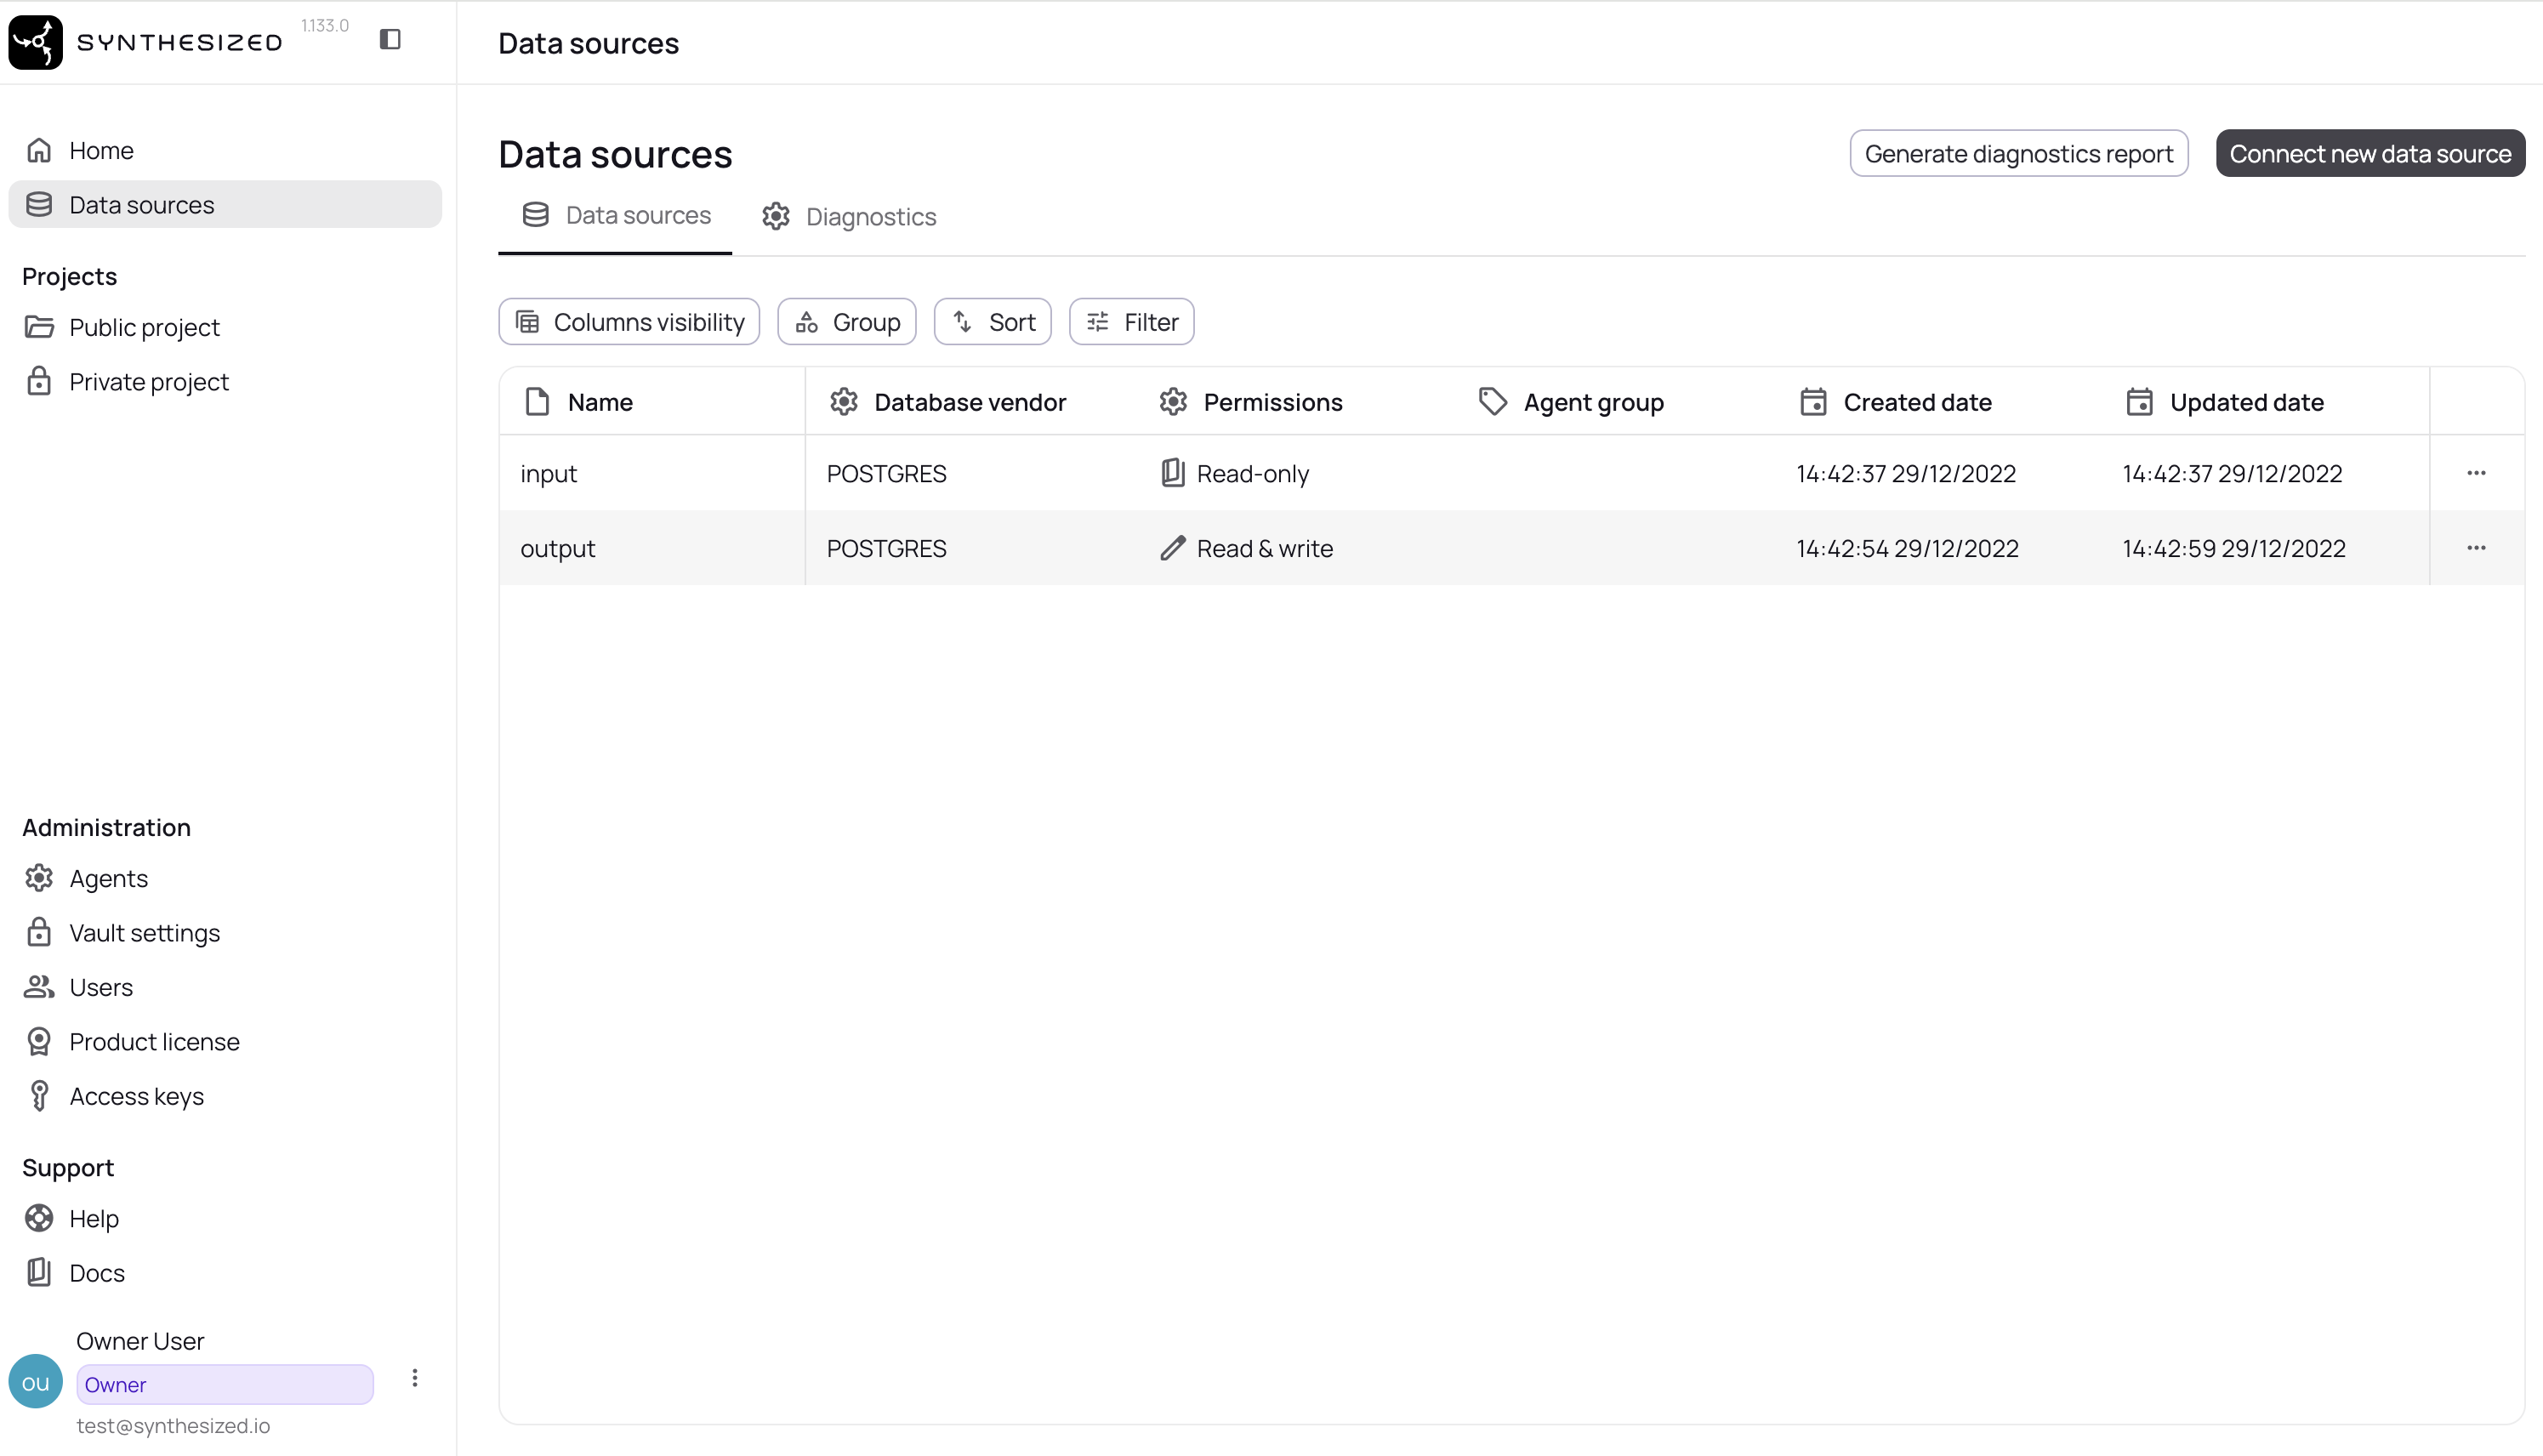
Step 1: Validate the Data Source
Synthesized already comes pre-packaged with an input and output database.
-
Navigate to Data Sources - Click on "Data Sources" in the left sidebar, you should see the 2 below
-
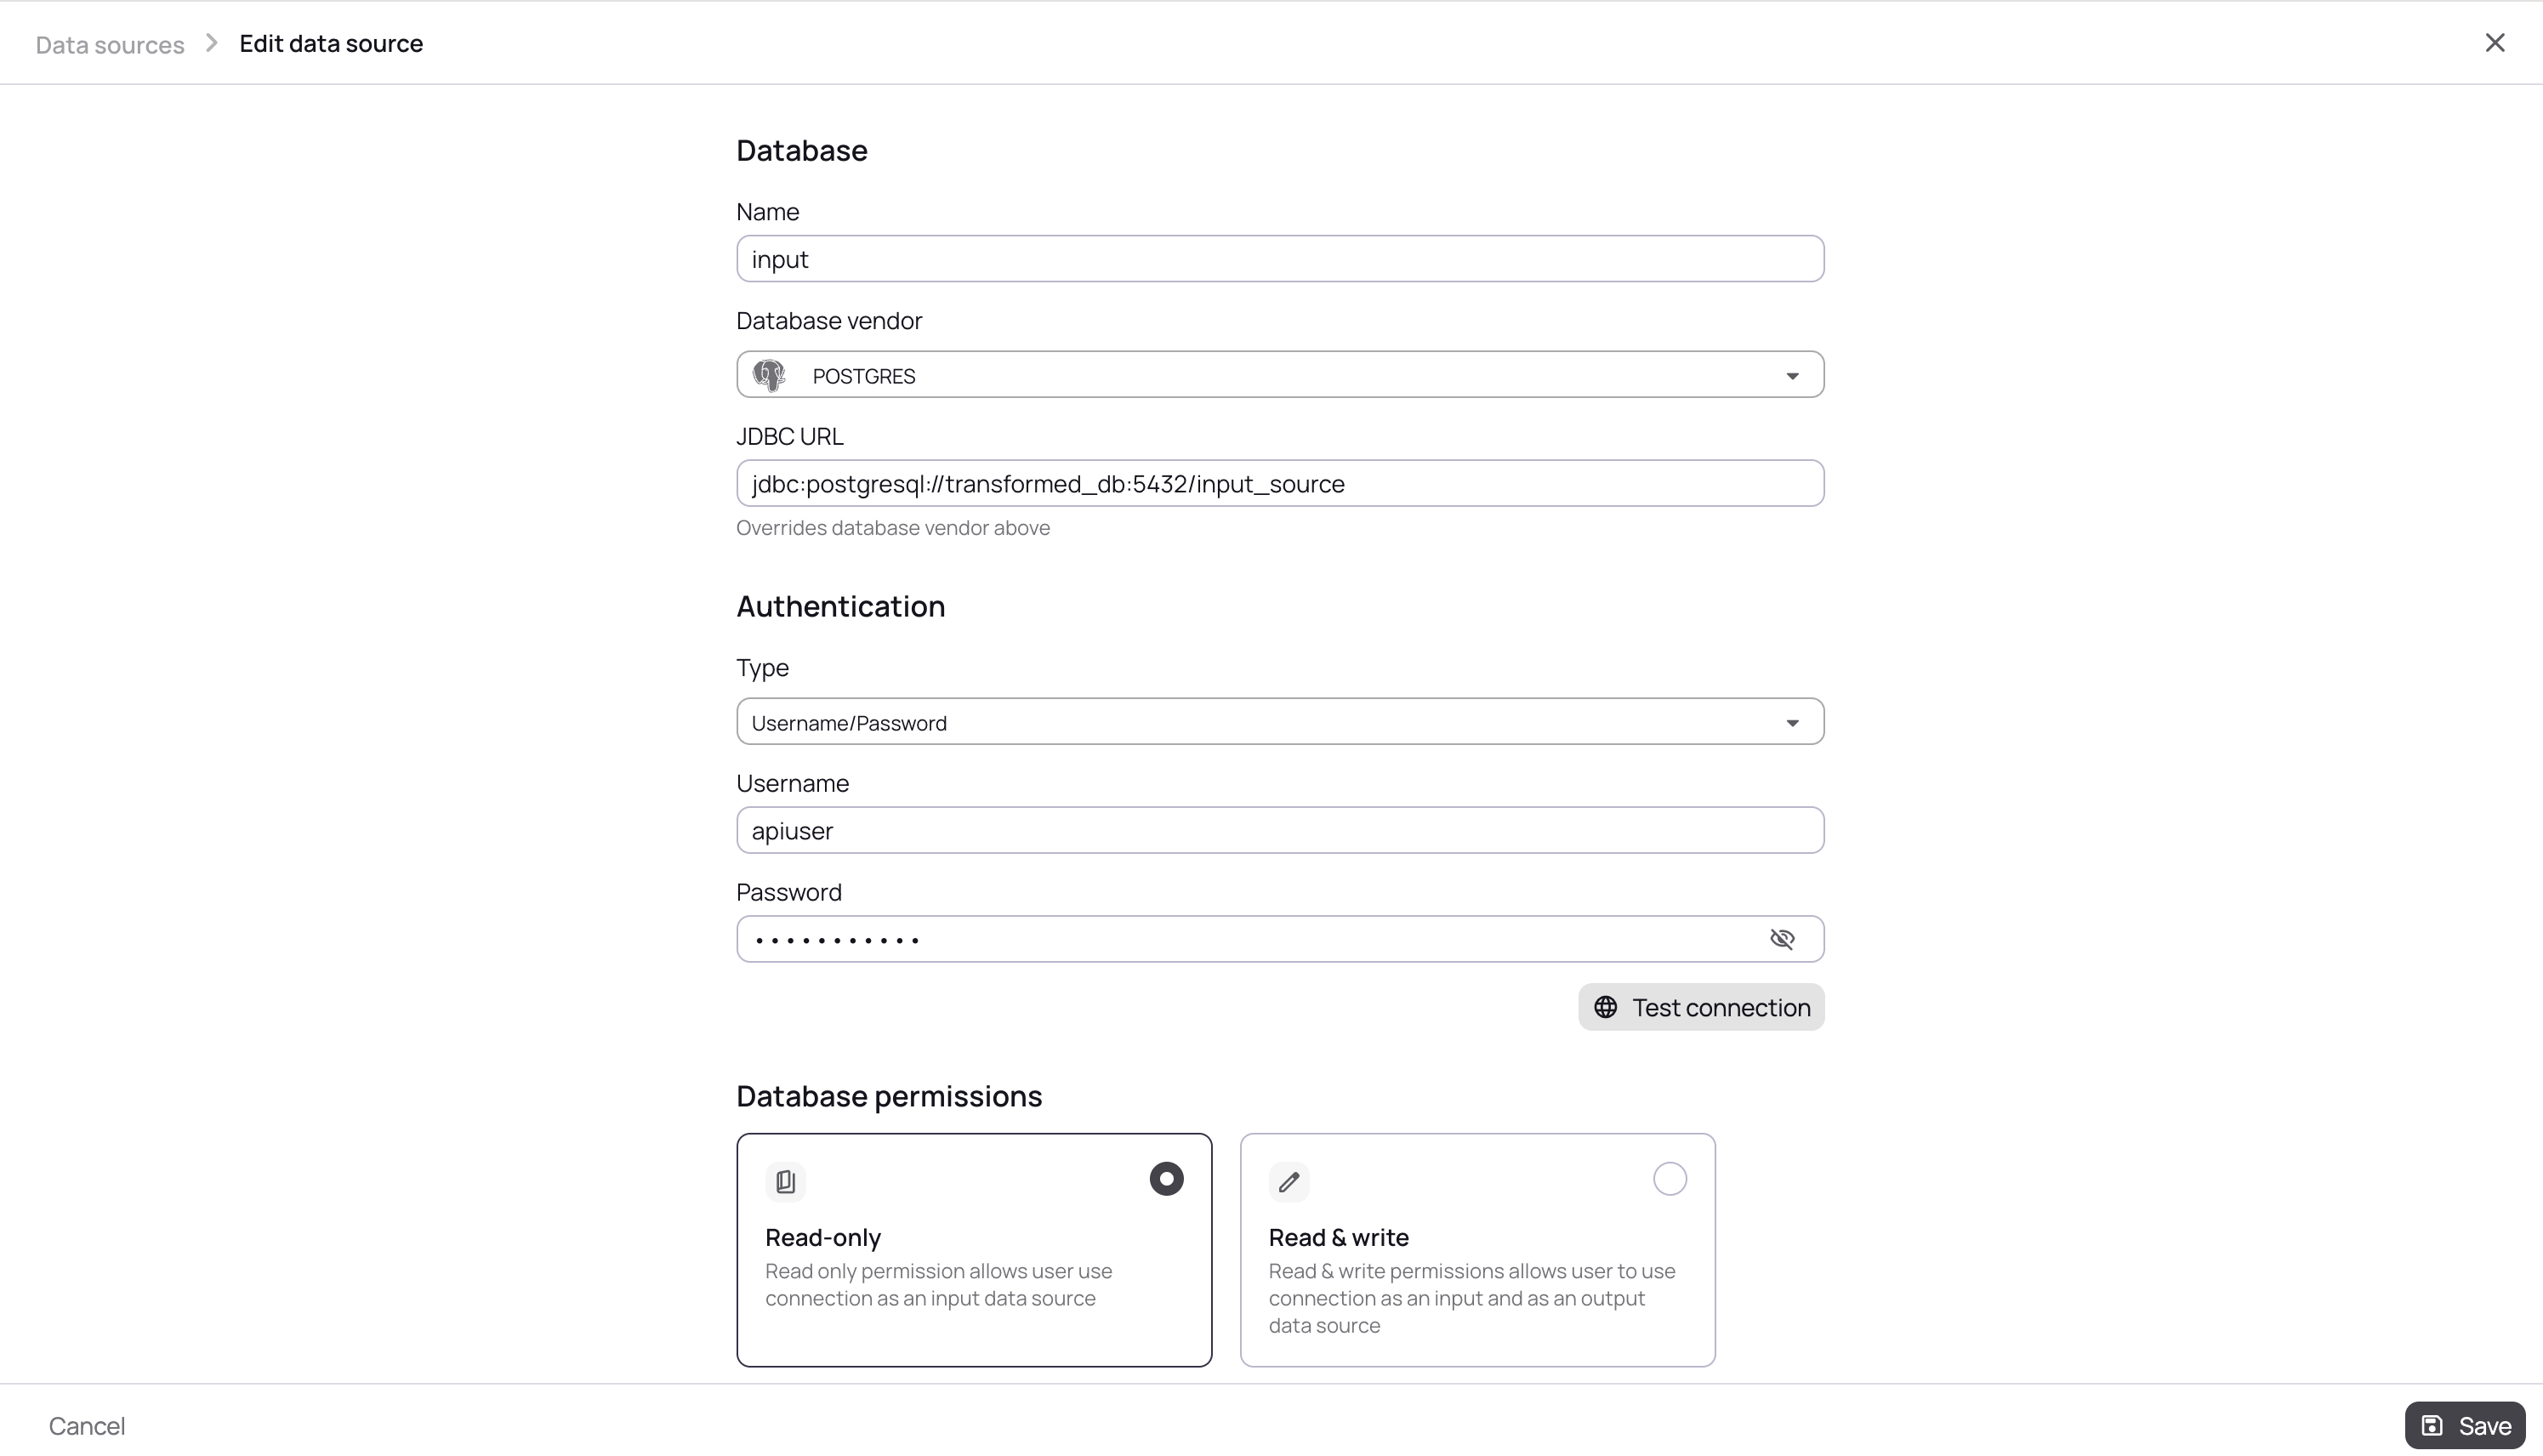
Check the Connection Details
Input Source
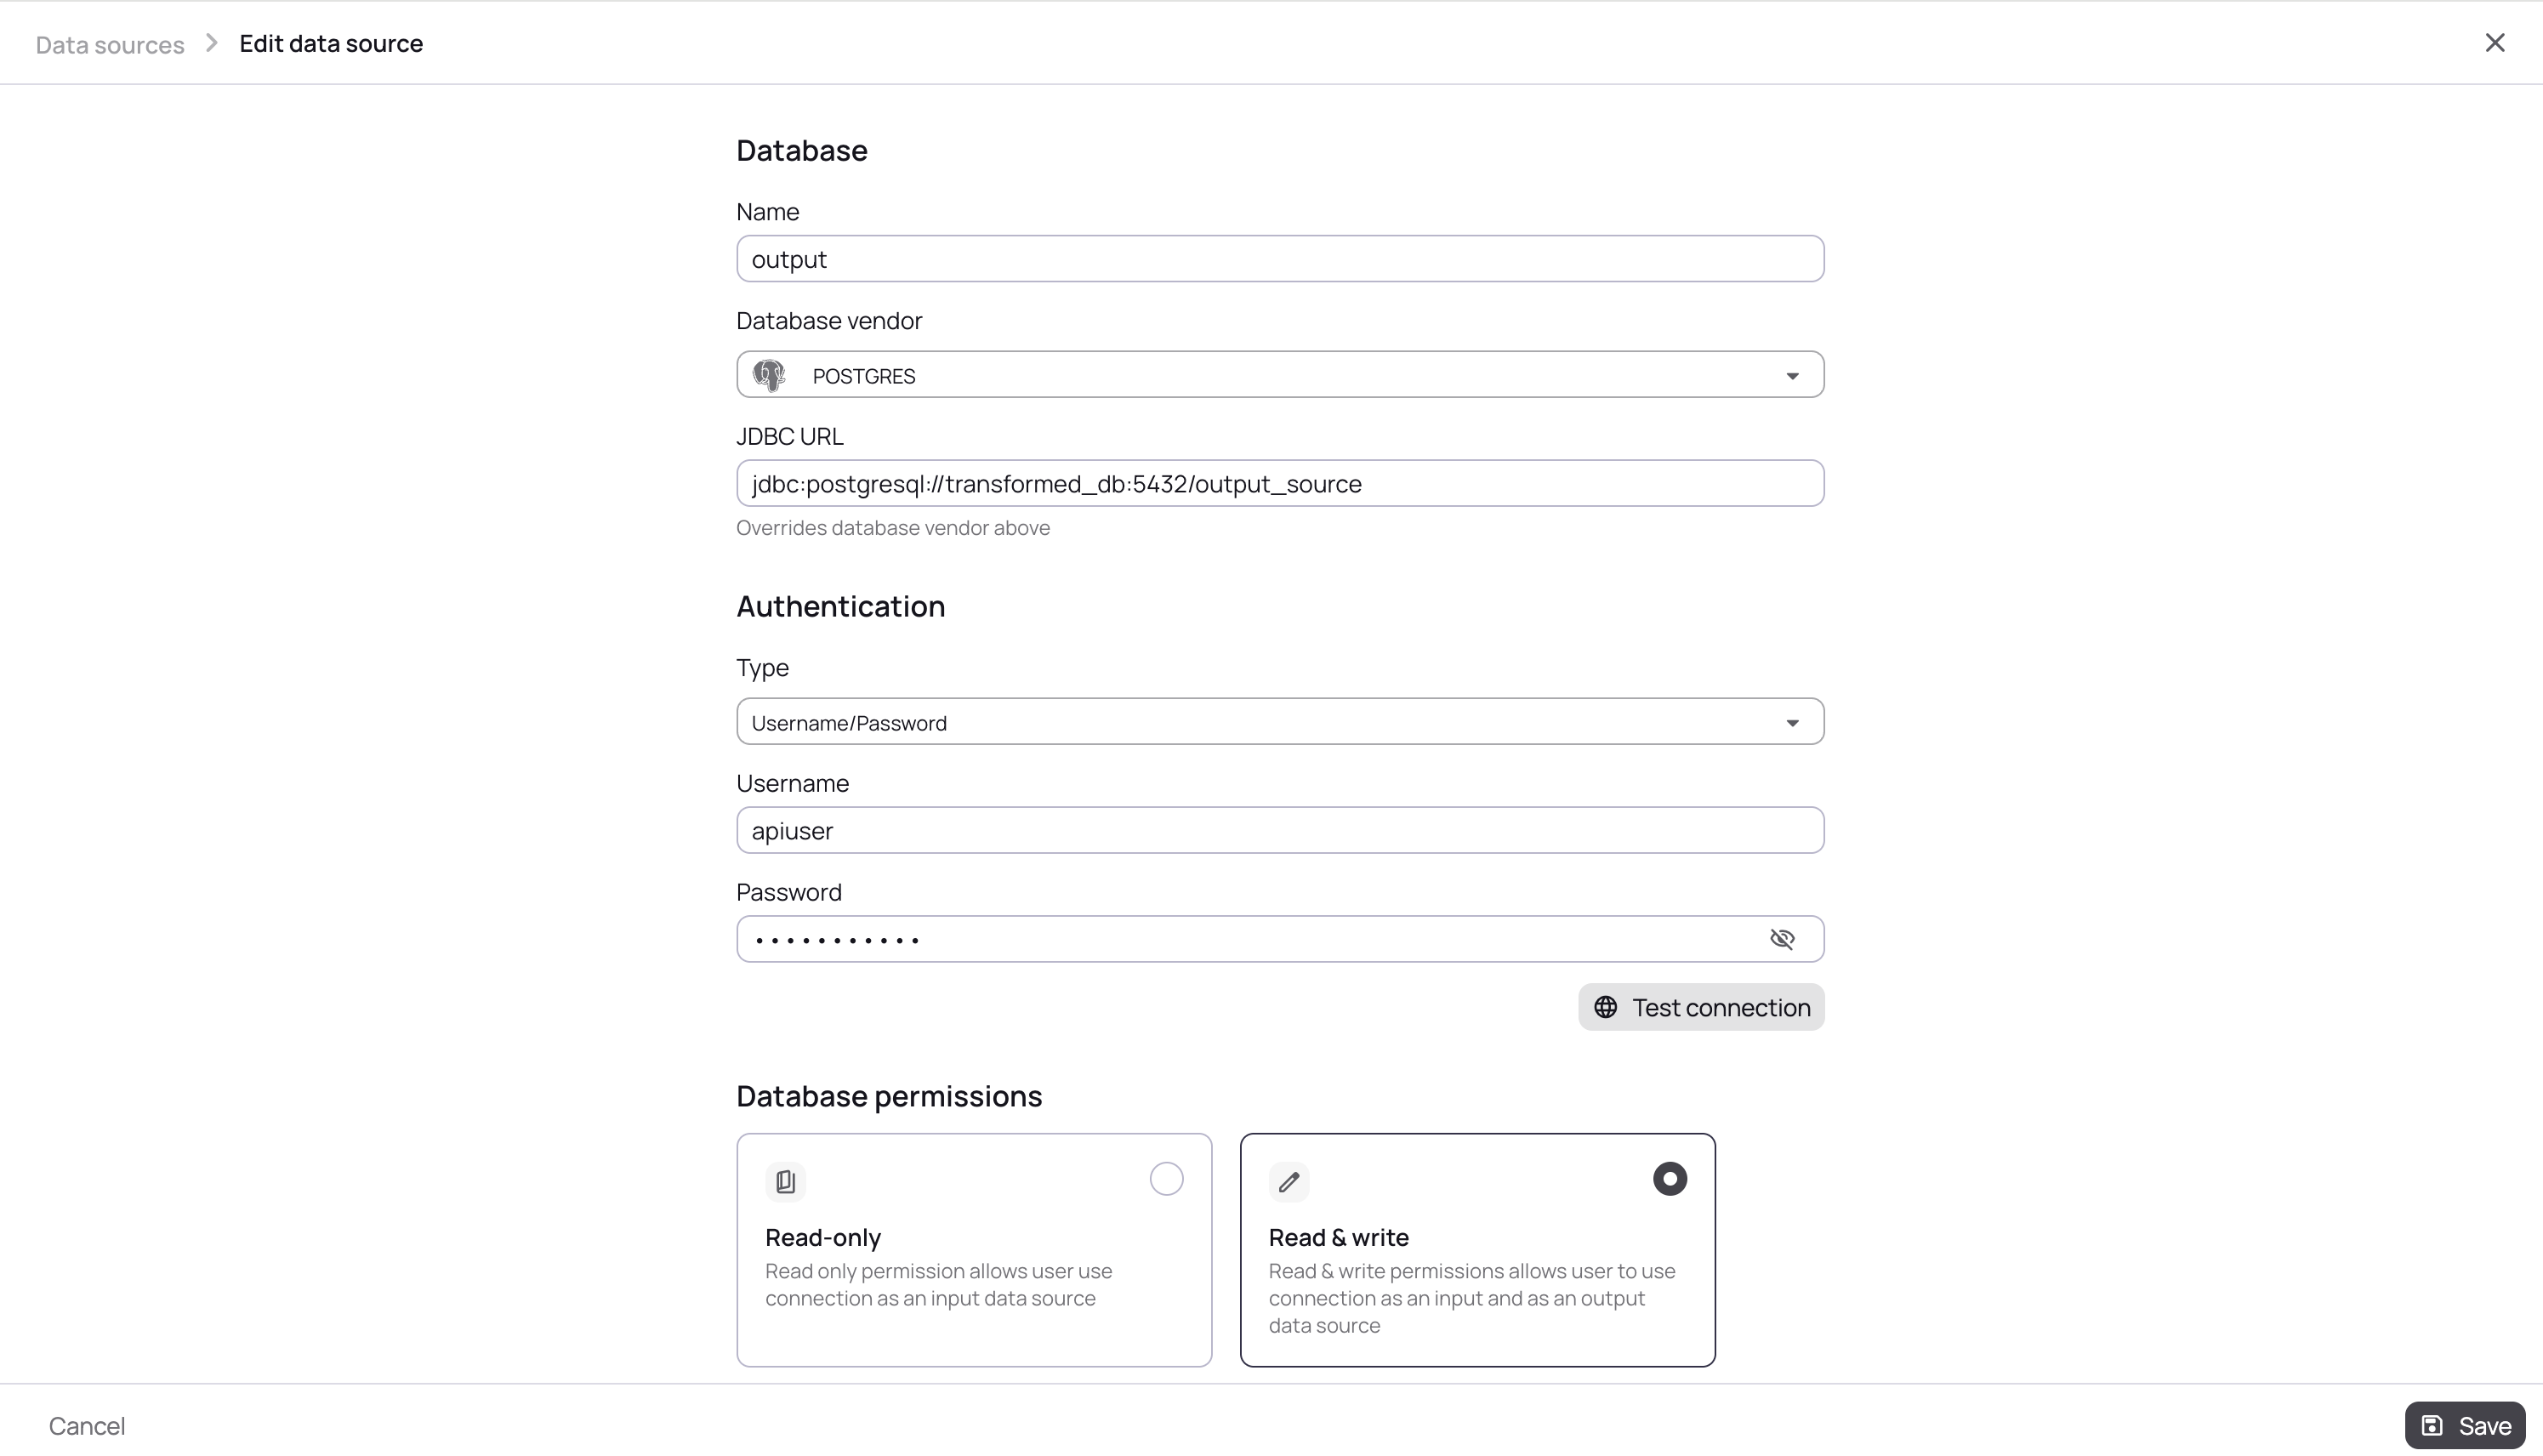
Output Source
-
Test Connection - Click "Test Connection" to verify the settings
-
Save - Click "Save" to store the data source configuration
|
The demo environment includes a pre-configured PostgreSQL database with sample data. You can use these same steps to connect to your own databases. |
Step 2: Run Your First Masking Job
Now you’re ready to transform data using workflows.
-
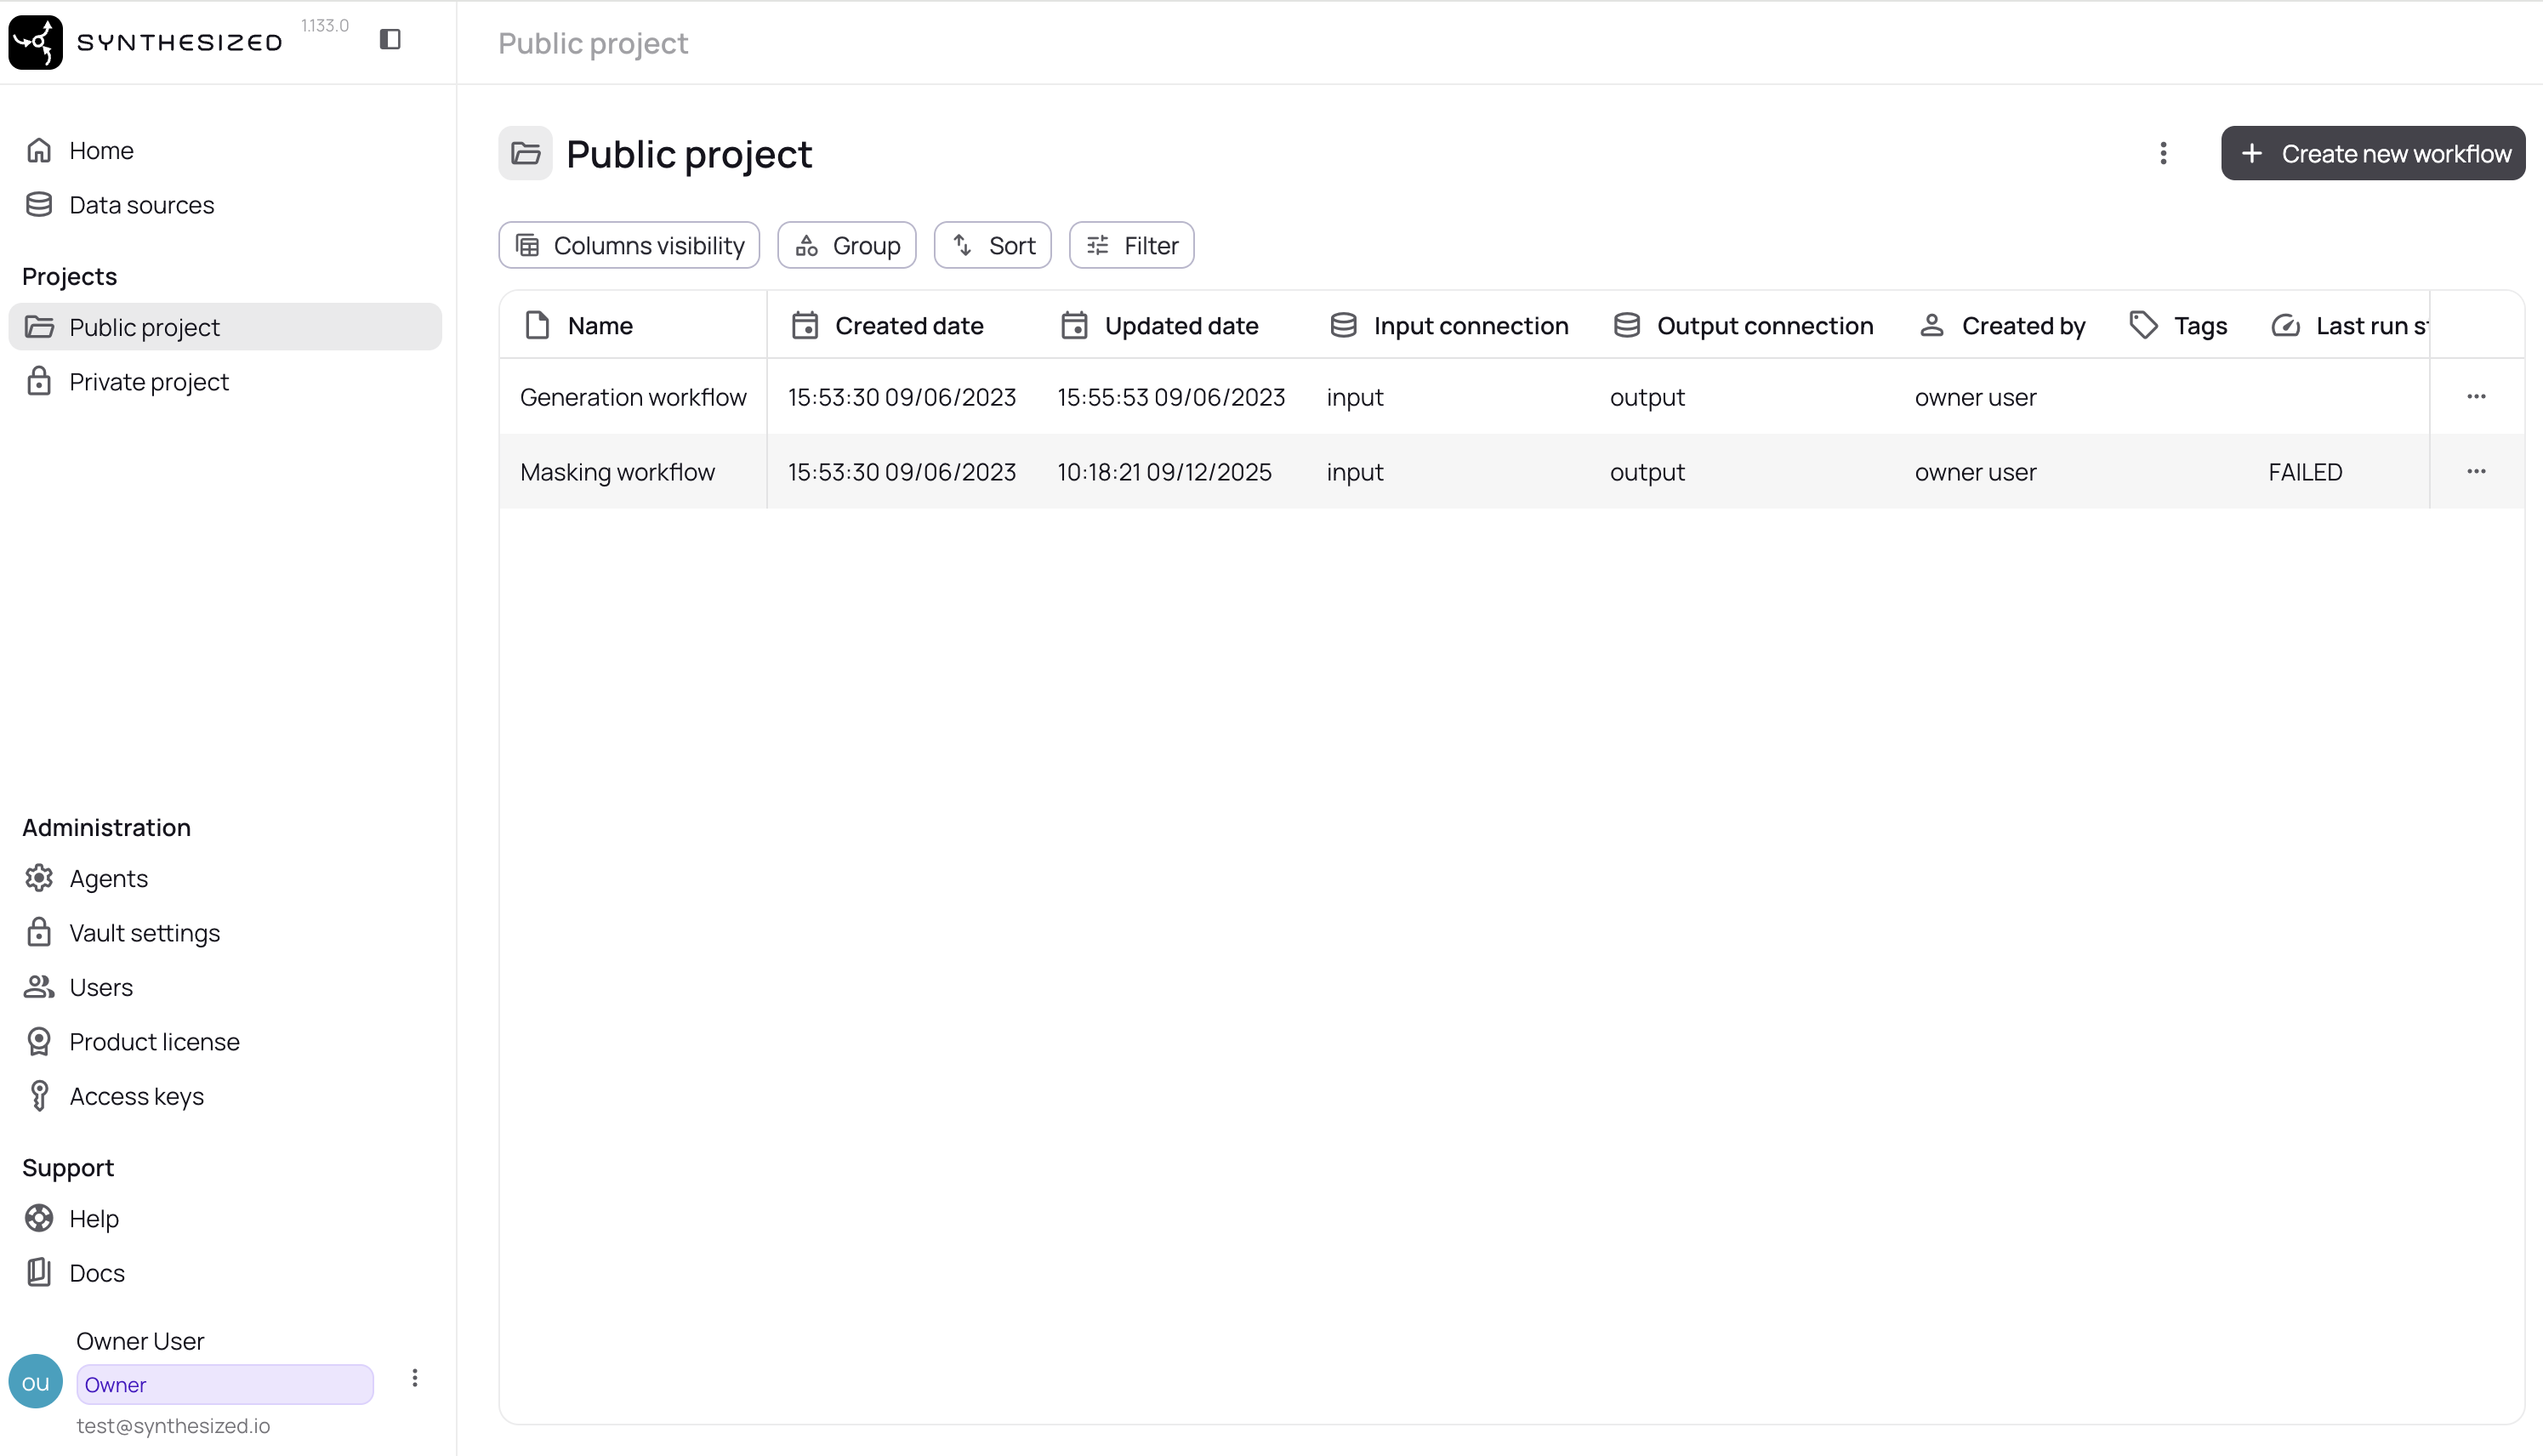
Navigate to Workflows - Click on "Home" in the left sidebar
-
Select a Sample Workflow - You’ll see pre-configured demo workflows. For this quickstart, we’ll use the "Masking Workflow".
-
Run the Workflow - Click "Run" on the "Masking Workflow"
-
Monitor Progress - Watch the workflow execute in real-time
The demo workflow will:
-
Connect to the source PostgreSQL database
-
Mask sensitive columns (emails, names, addresses)
-
Write masked data to the output database
-
Preserve referential integrity and data types
-
Step 3: Verify the Results
After the workflow completes, verify the transformed data through a database client.
-
Navigate to the Database Client
-
Connect to the Input and Output Sources - Connect using the credentials within Synthesized.
Connection details for demo source and target databases (host transformed_db, port 5432) are valid inside the internal Docker Compose network. To access the databases from the host machine, uselocalhostand port5433. -
Browse Tables - Select the
customertable -
View Masked Data - See how sensitive data has been replaced with realistic synthetic values
You’ll see realistic but fake data that maintains the format and patterns of the original data while protecting privacy.
|
CLI Access - You can also query the output database directly: |
What You Just Did
Congratulations! You’ve successfully:
-
✅ Set up the Synthesized platform with Docker Compose
-
✅ Ran a data masking workflow
-
✅ Masked sensitive information in a PostgreSQL database
-
✅ Verified the masked results
Optional Configuration
Setting up a volume for the PostgreSQL database
The Synthesized platform uses a PostgreSQL database to store its configuration and state. By default, the data is stored inside the Docker container, which means it will be lost if the container is removed.
To enable data persistence, mount a folder from your local filesystem as a volume:
-
Uncomment the line:
<Governor DB host directory path>:/var/lib/postgresql/data" -
Replace
<Governor DB host directory path>with an absolute path on your machine where you’d like to store the database files
This ensures that database data will be persisted between restarts of the container or Docker daemon.
You can do the same for transformed database by replacing <transformed DB host directory path>.
|
Setting up a volume for RocksDB
The Synthesized platform relies on RocksDB embedded key-value store to speed up its performance. However, having RocksDB folder inside the container can lead to problems both with performance and space restrictions.
To set up a volume on your local filesystem:
-
Uncomment
volumessection indocker-compose.yml -
Uncomment
- <RocksDB host directory path>:/app/rocksdbline and substitute your path to RocksDB folder -
Make sure this folder is accessible for Docker using
chmod 777 <RocksDB host directory path>command
Setting up a volume for log files
If you are willing to store log files locally instead of having them in the container:
-
Uncomment
volumessection indocker-compose.yml -
Uncomment
- <logs host directory path>:/app/logsline and substitute your path to logs folder -
Make sure this folder is accessible for Docker using
chmod 777 <logs host directory path>command
|
You must use separate folders on the host machine for each of the following paths: |
Next Steps
Now that you’ve seen the Synthesized platform in action, explore more capabilities:
Learn Core Concepts
-
What is the Synthesized platform? - Understand the architecture
-
How Masking Works - Masking engine internals
-
How Generation Works - Generation engine internals
Explore Advanced Features
-
Scripting Transformer - Custom JavaScript transformations
Troubleshooting
Port 8080 already in use
# Stop the conflicting service or change the port in docker-compose.yml:
ports:
- "8081:80" # Use port 8081 insteadServices Won’t Start
If Docker Compose fails to start:
-
Check Docker is running:
docker ps -
Verify ports 80 and 5432-5433 are available
-
Increase Docker memory limit to 8GB in Docker Desktop settings
Check if all containers are running:
docker compose ps

# View detailed logs:
docker compose logs
See our FAQ for more help.
Can’t Access UI
If you can’t access http://localhost:80:
-
Check all containers are running:
docker compose ps -
View logs:
docker compose logs backend -
Verify firewall settings aren’t blocking port 8080
Can’t connect to databases
The demo databases run inside Docker and are accessible at:
-
From host machine: localhost:5433
-
From within containers: transformed_db:5432
Workflow Fails
If the masking workflow fails:
-
Check database connectivity in the workflow configuration
-
Review workflow logs in the UI
-
Verify the source database has data
See Common Issues for more solutions.
Cleaning Up
To stop and remove all containers:
docker compose downTo also remove volumes (this deletes all data):
docker compose down -vGet Help
-
FAQ - Common questions
-
Troubleshooting Guide - Detailed solutions
-
CLI Reference - Command documentation