Data Sources
In order to create and execute a workflow, users needs to define the input and output (destination) data sources.
Creating a Data Source
Data sources can be created via the data sources page. There are two ways to access this page:
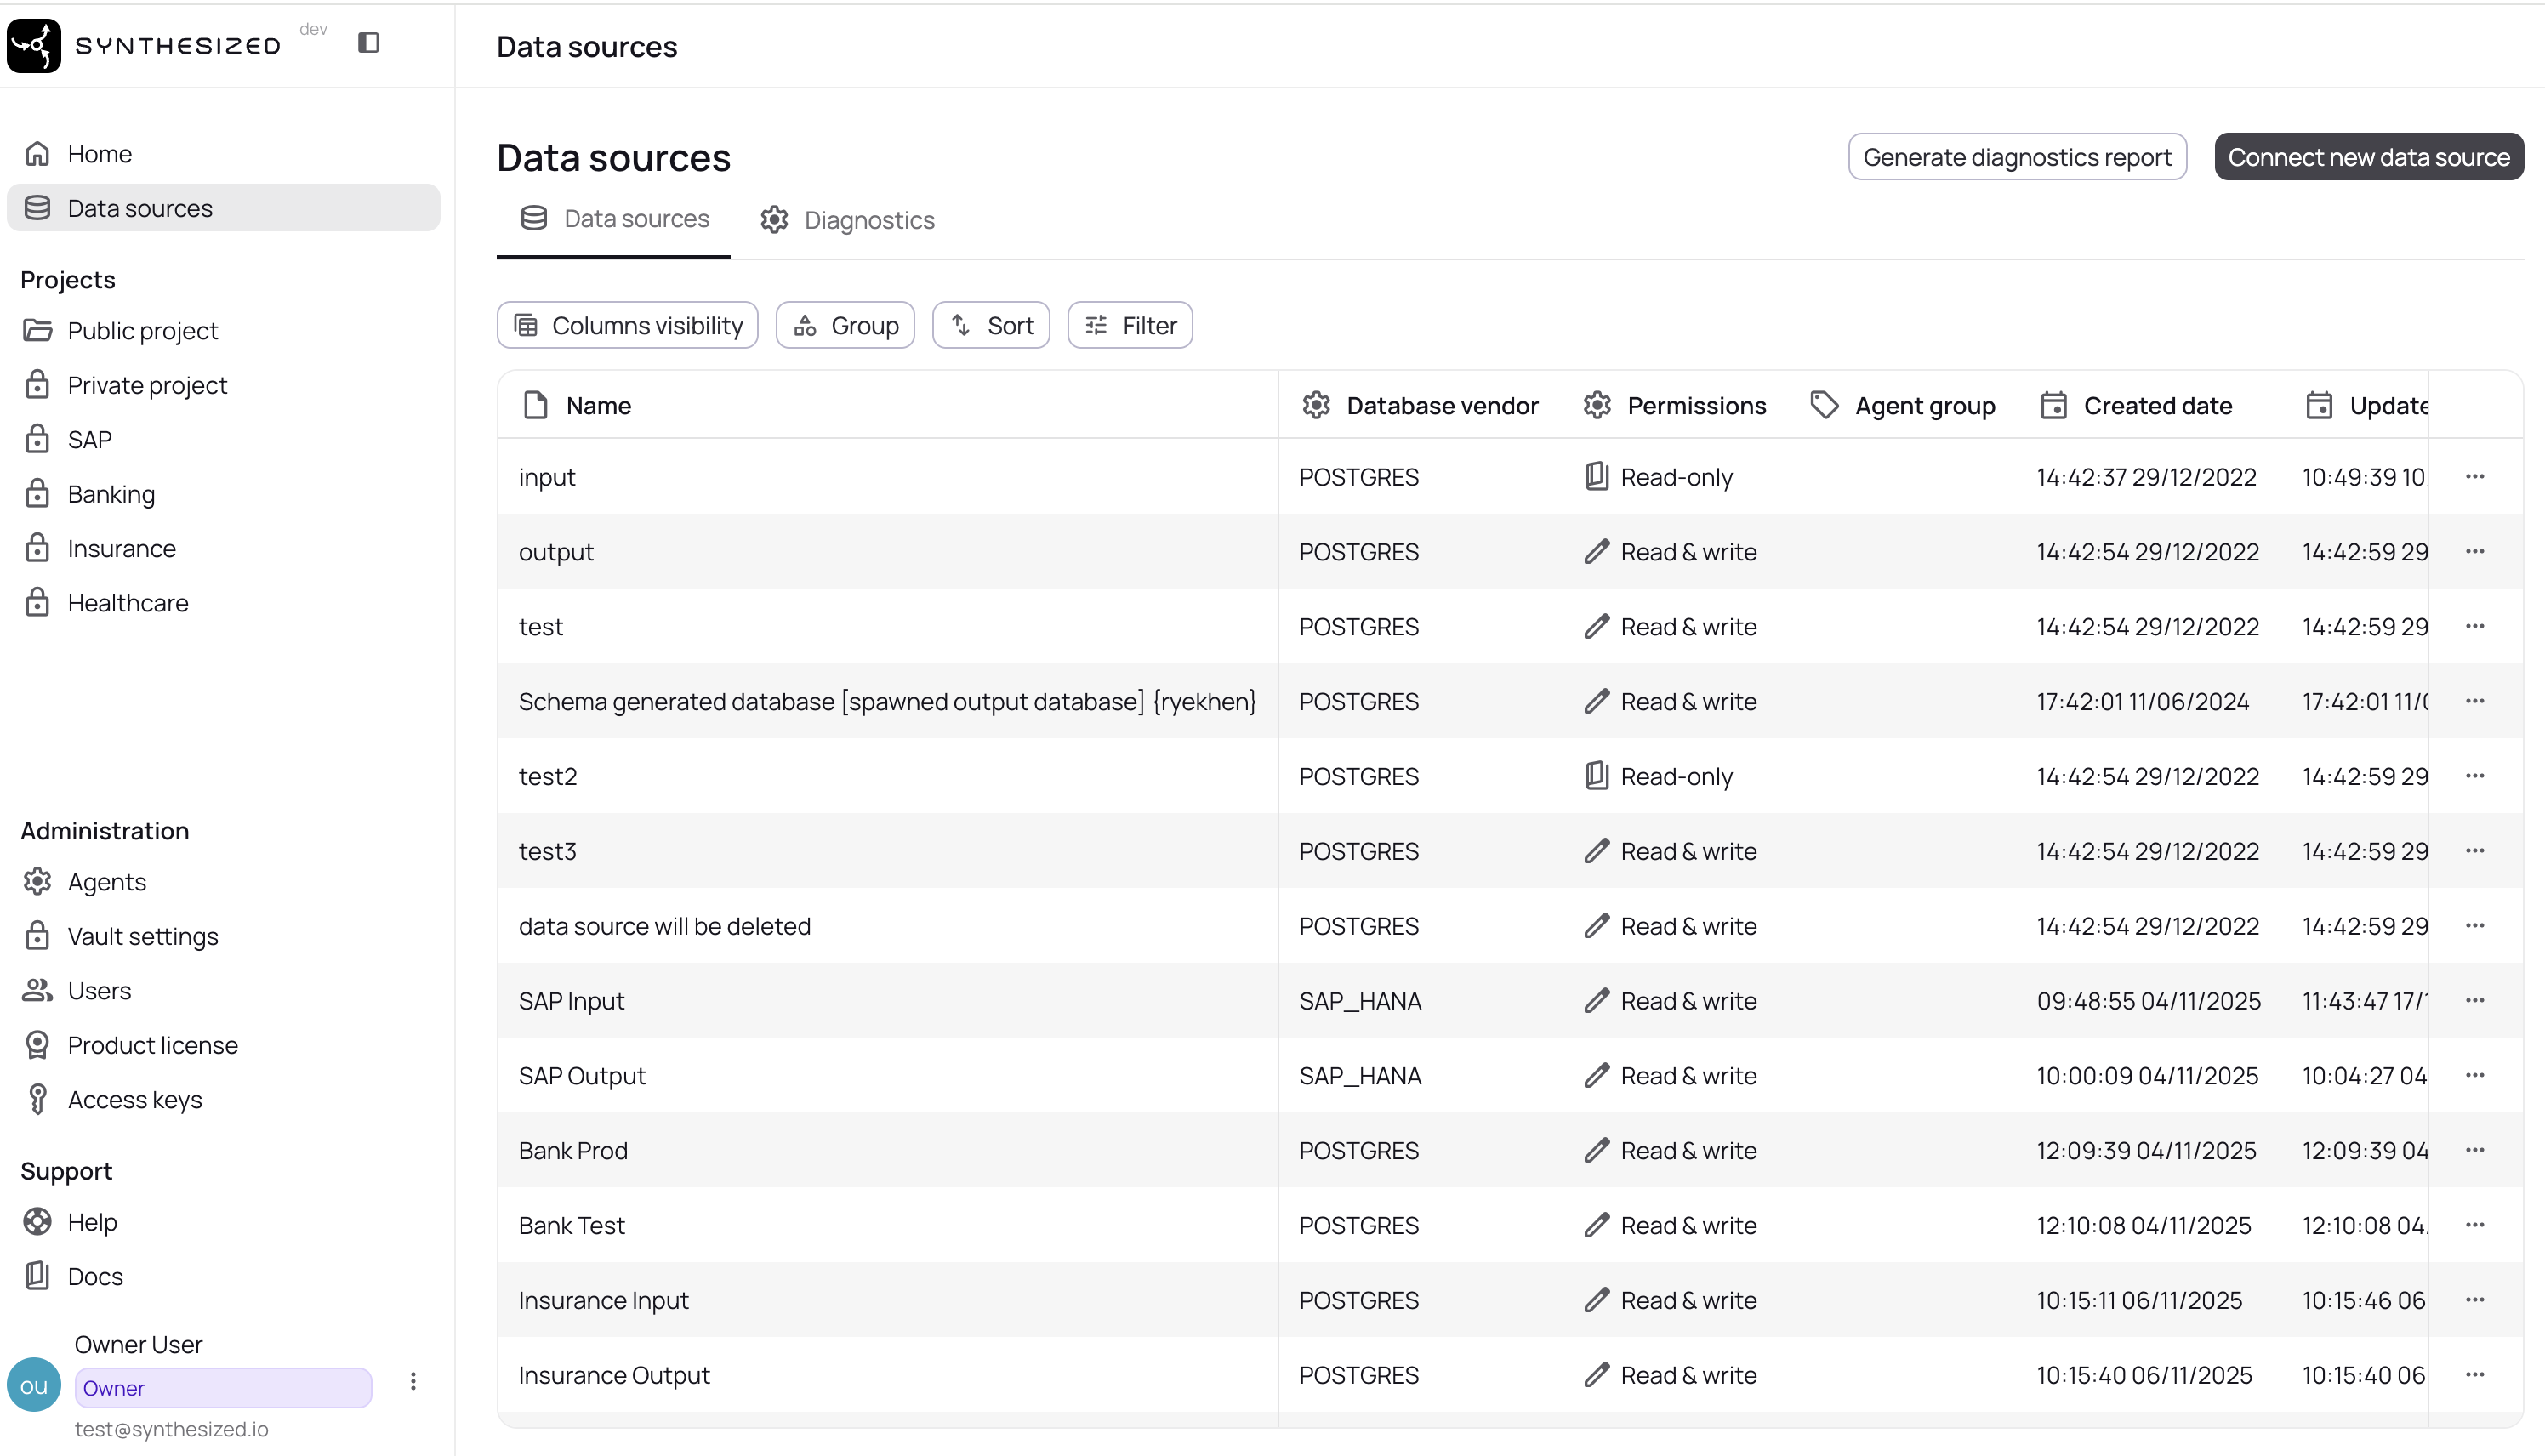
-
Data source page > create a data source
-
Workflow page > list of data sources > create a data source
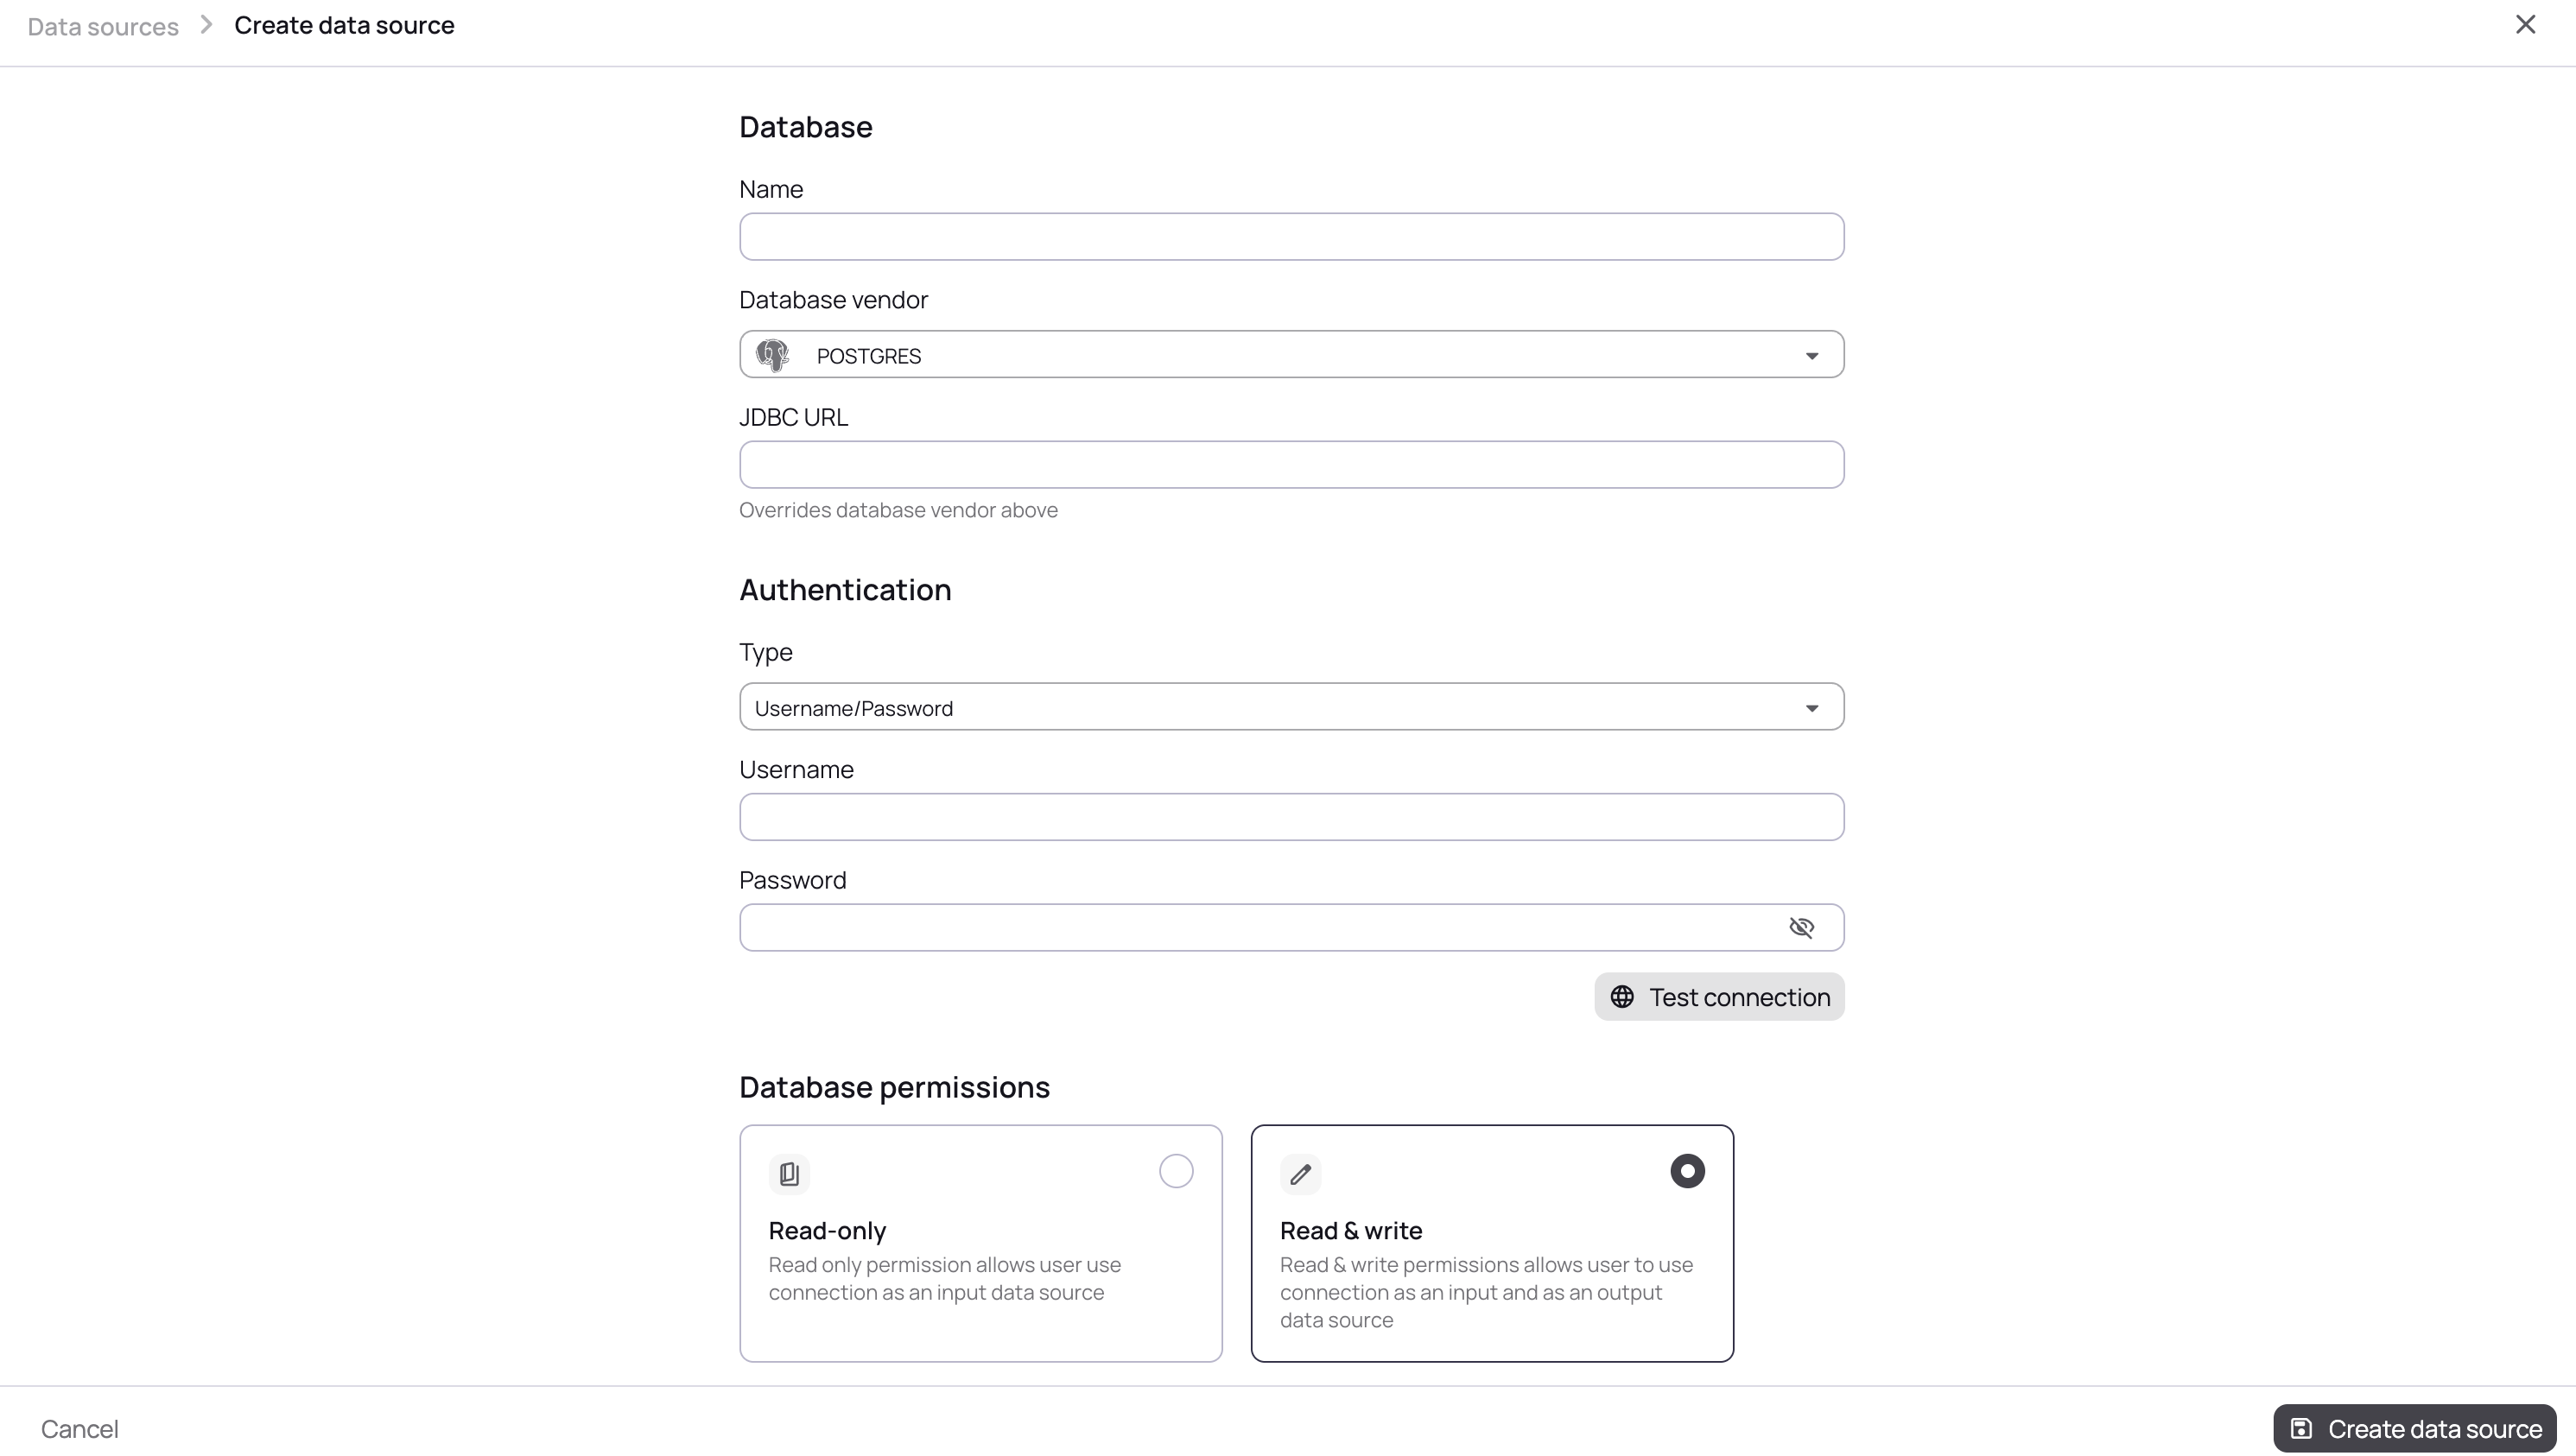
To create a new data source, the user are to enter the following parameters:
-
Data source name (required)
-
DB Type (required)
Supported Data Sources
Synthesized easily connects to a variety of data sources.
POSTGRES ORACLE MYSQL SQLITE MSSQL Snowflake DB2 LUW CSV XML SAP HANA
-
JDBC URL (needed, starting with
jdbc:[…]depending on type and driver) -
Authentication type:
-
Username & password (default)
-
No authentication
-
-
Authentication details (depending on auth type)
-
Permissions (private by default) [explained below]
Data Source Permissions
Given the sensitive nature of data sources, each data source has its own access levels that is set when creating it.
Possible access levels are:
-
Private (default): Only the data source creator, and users with administrator or owner roles can see it.
-
Read-only: All users with “read data source” permissions can see it, but it can only be selected as a source (input) data source when creating a workflow
-
Read & Write: The data source can be used as a source and as a destination in a workflow.
Db2 Authentication
A Db2 data source can be saved with No authentication, the same way MySQL and PostgreSQL data sources can. Use it when the driver obtains authentication details from connection properties in the JDBC URL or from the worker’s environment instead of a stored username and password. This option does not disable authentication on the database; the driver and worker must still be configured for the chosen authentication method.
Steps
-
Open the data source creation or edit form for a Db2 data source. See Creating a Data Source for the full form.
-
Under Authentication type, select No authentication.
-
In the JDBC URL, add any connection properties your authentication method needs.
-
Configure any required authentication files and settings on the worker that connects to this data source. These may be needed in addition to the JDBC URL properties.
-
Save the data source.